- 1-807-228-1532
- support@dnb3d.ca
Free shipping on orders over $175
New Products added Daily
Ready to Ship | Seasonal Gifts | Custom Orders

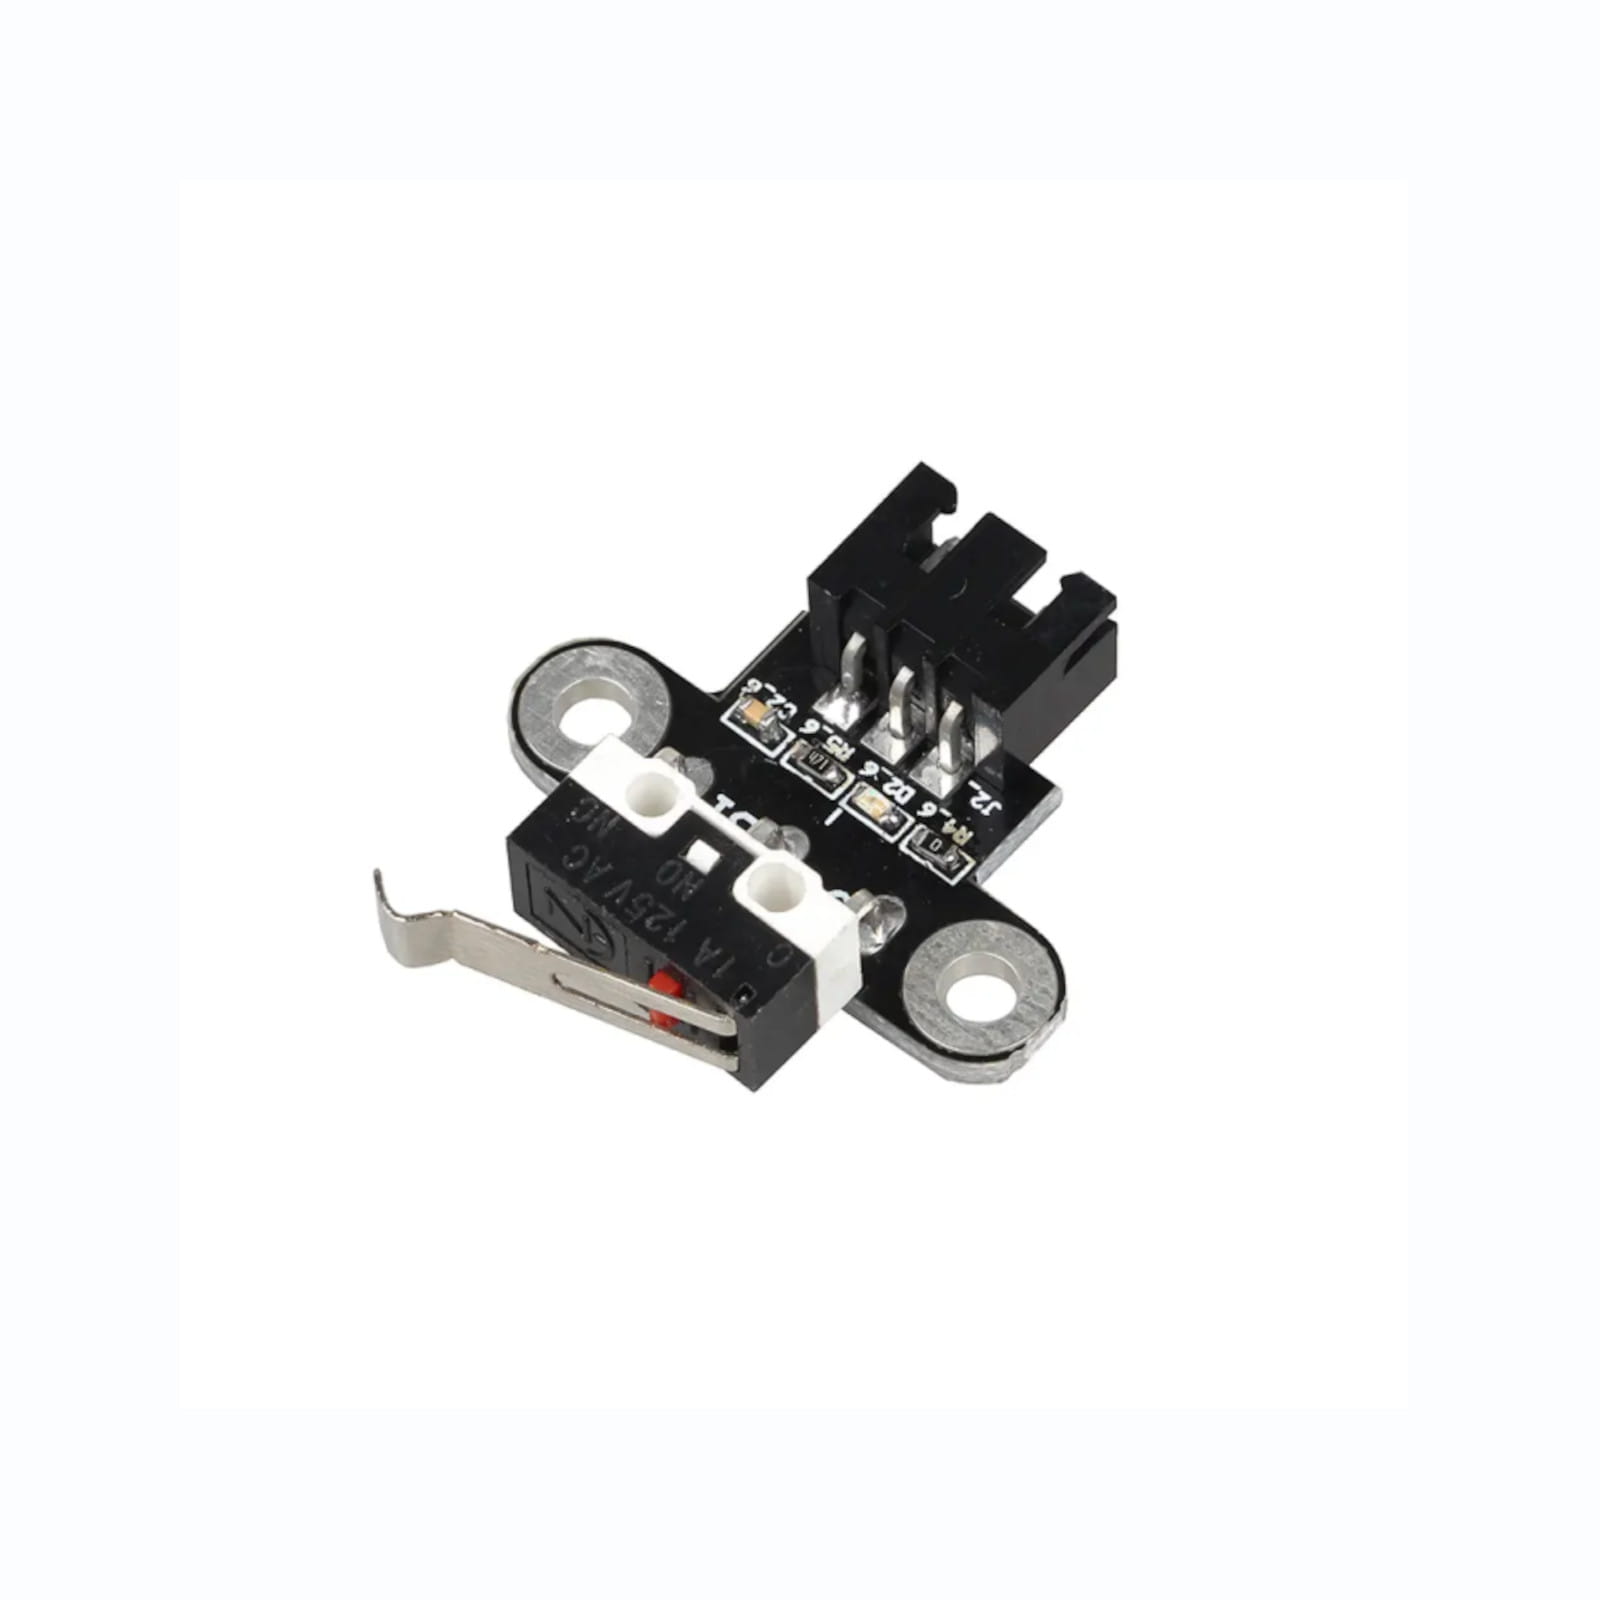
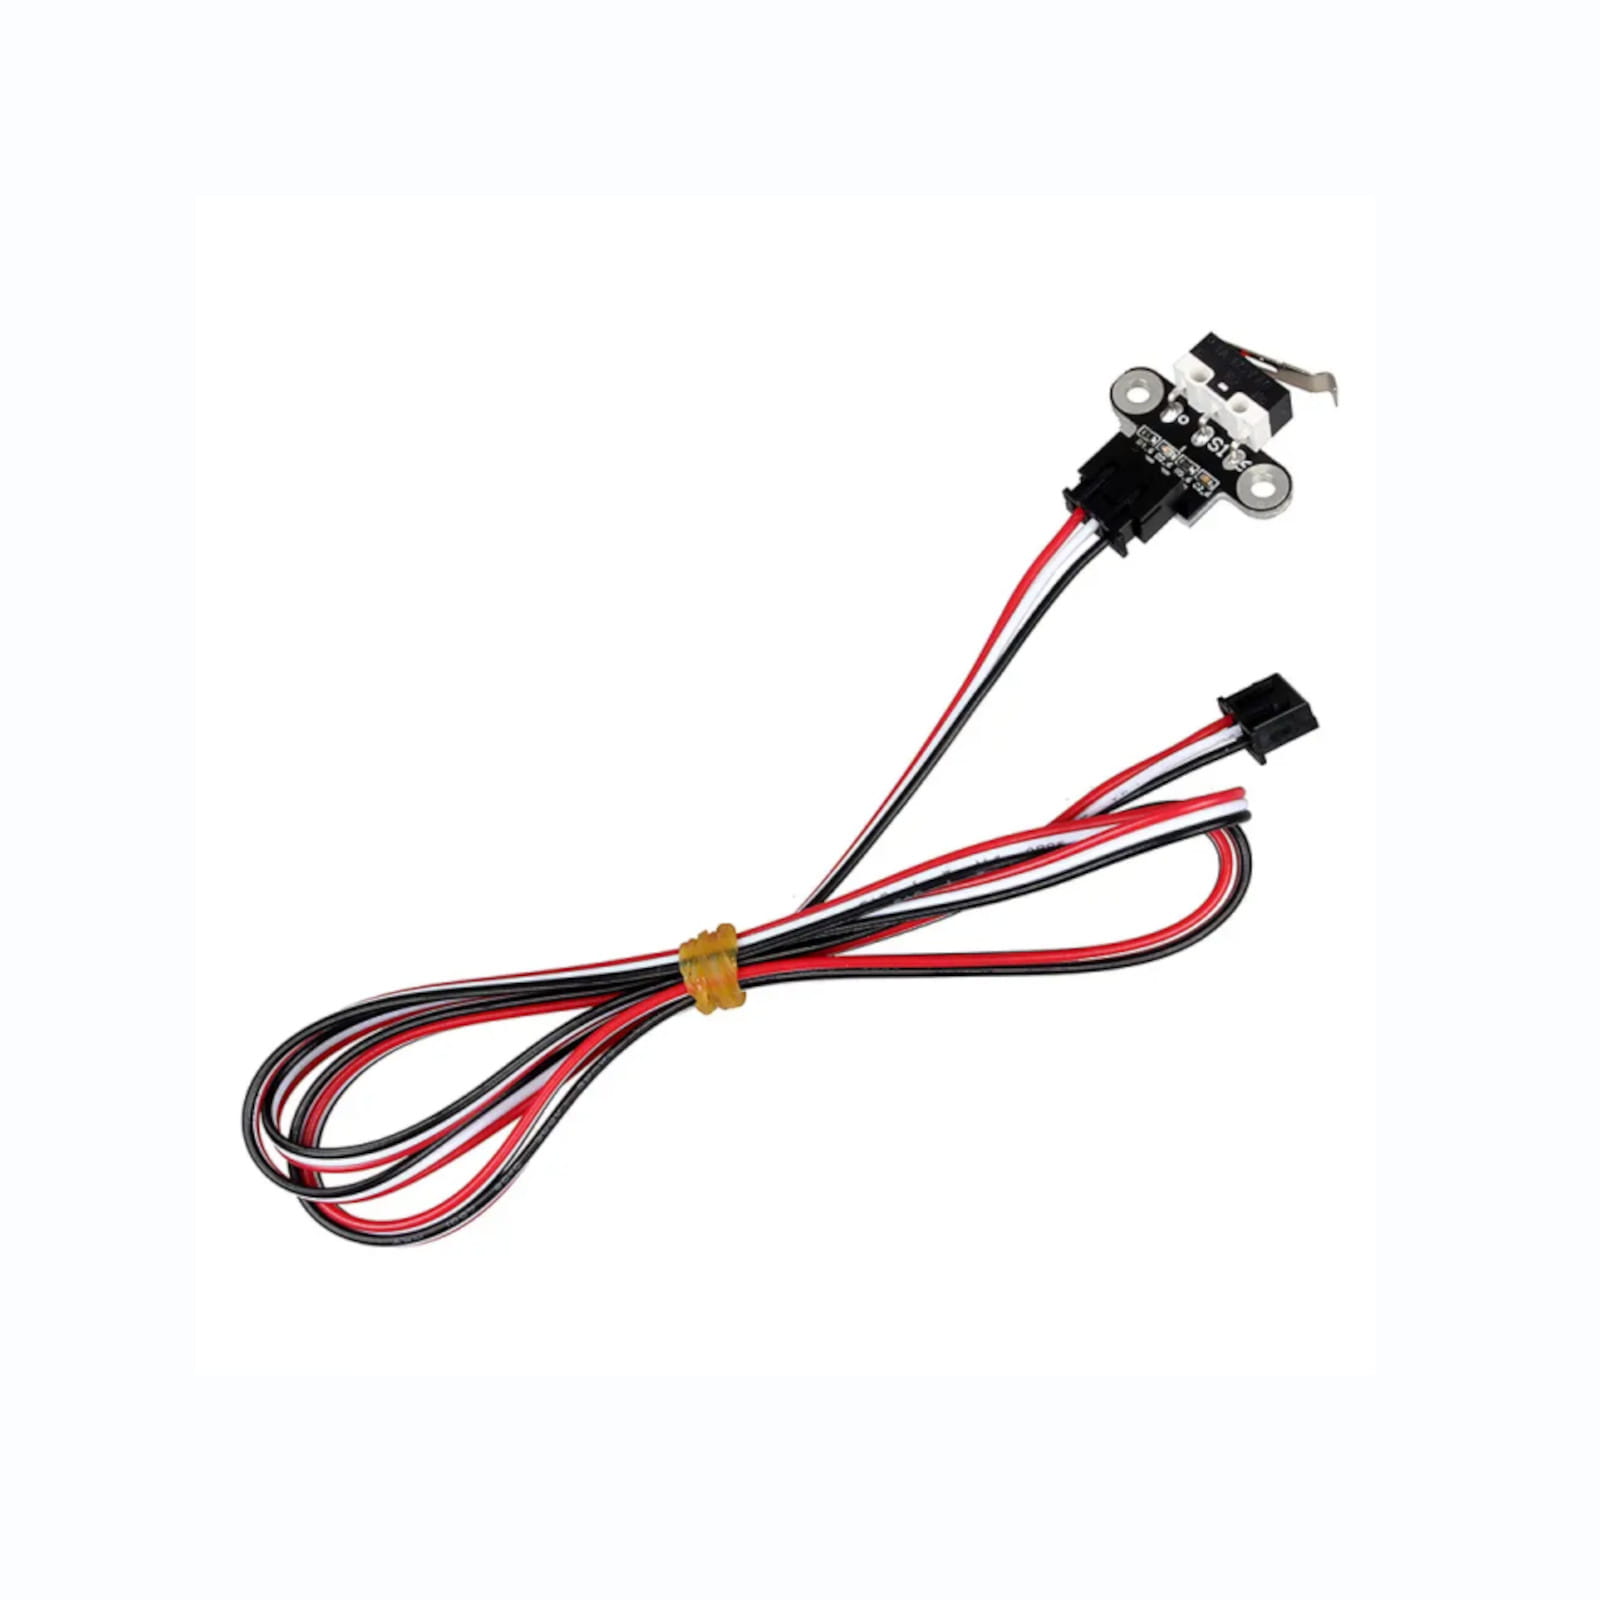

This Horizontal Limit Switch NO is a compact normally open endstop module designed for compatible motion-control, position-sensing, 3D printer, CNC, robotics, and electronics applications. It includes a JST-XH connector, 1m cable, small module layout, and trigger light for easier setup and troubleshooting.
The Horizontal Limit Switch NO uses a normally open switch configuration. In compatible systems, this allows the switch to act as a position or limit input when triggered by a moving axis, carriage, gantry, or mechanical stop.
This endstop module includes a JST-XH connector and 1m cable, making it useful for compatible controller boards and wiring setups that support this connector style. Always confirm your board pinout, connector orientation, voltage, and firmware configuration before installation.
The horizontal module style is useful when your design requires a low-profile or side-mounted endstop position. The current product page also notes that the pins can be carefully manipulated into a vertical position for multiple configurations, but any modification should be done gently to avoid damaging the switch, PCB, or solder joints.
This switch may be used in compatible 3D printer endstop wiring, CNC machine limit inputs, small robotics projects, motion platforms, test fixtures, and custom electronics builds. It is not limited to one machine brand or one printer model; compatibility depends on the required switch type, mounting style, wiring, connector, and firmware setup.
The current dnb3D page lists this product as used for one specific 3D printer build’s X and Y endstops, with 2 pieces required for that listed application. If you are using it for a printer build, confirm the required quantity, orientation, connector type, and endstop logic before ordering.
The live product page links to a BTT Octopus V1.1 wiring diagram. If you are using an Octopus-style controller or similar board, confirm the endstop port wiring and input logic before connecting the switch. You can review the BTT Octopus wiring reference for general board context.
If you are wiring a printer, CNC controller, electronics enclosure, or motion system, browse our Electronics category for related boards, power components, switches, sensors, wiring, and accessories.
Each order is handled by dnb3D in Marathon, Ontario, Canada. This compact horizontal limit switch is a practical part to keep on hand for compatible motion-system repairs, electronics projects, printer maintenance, and machine builds.
(Click to Enlarge)
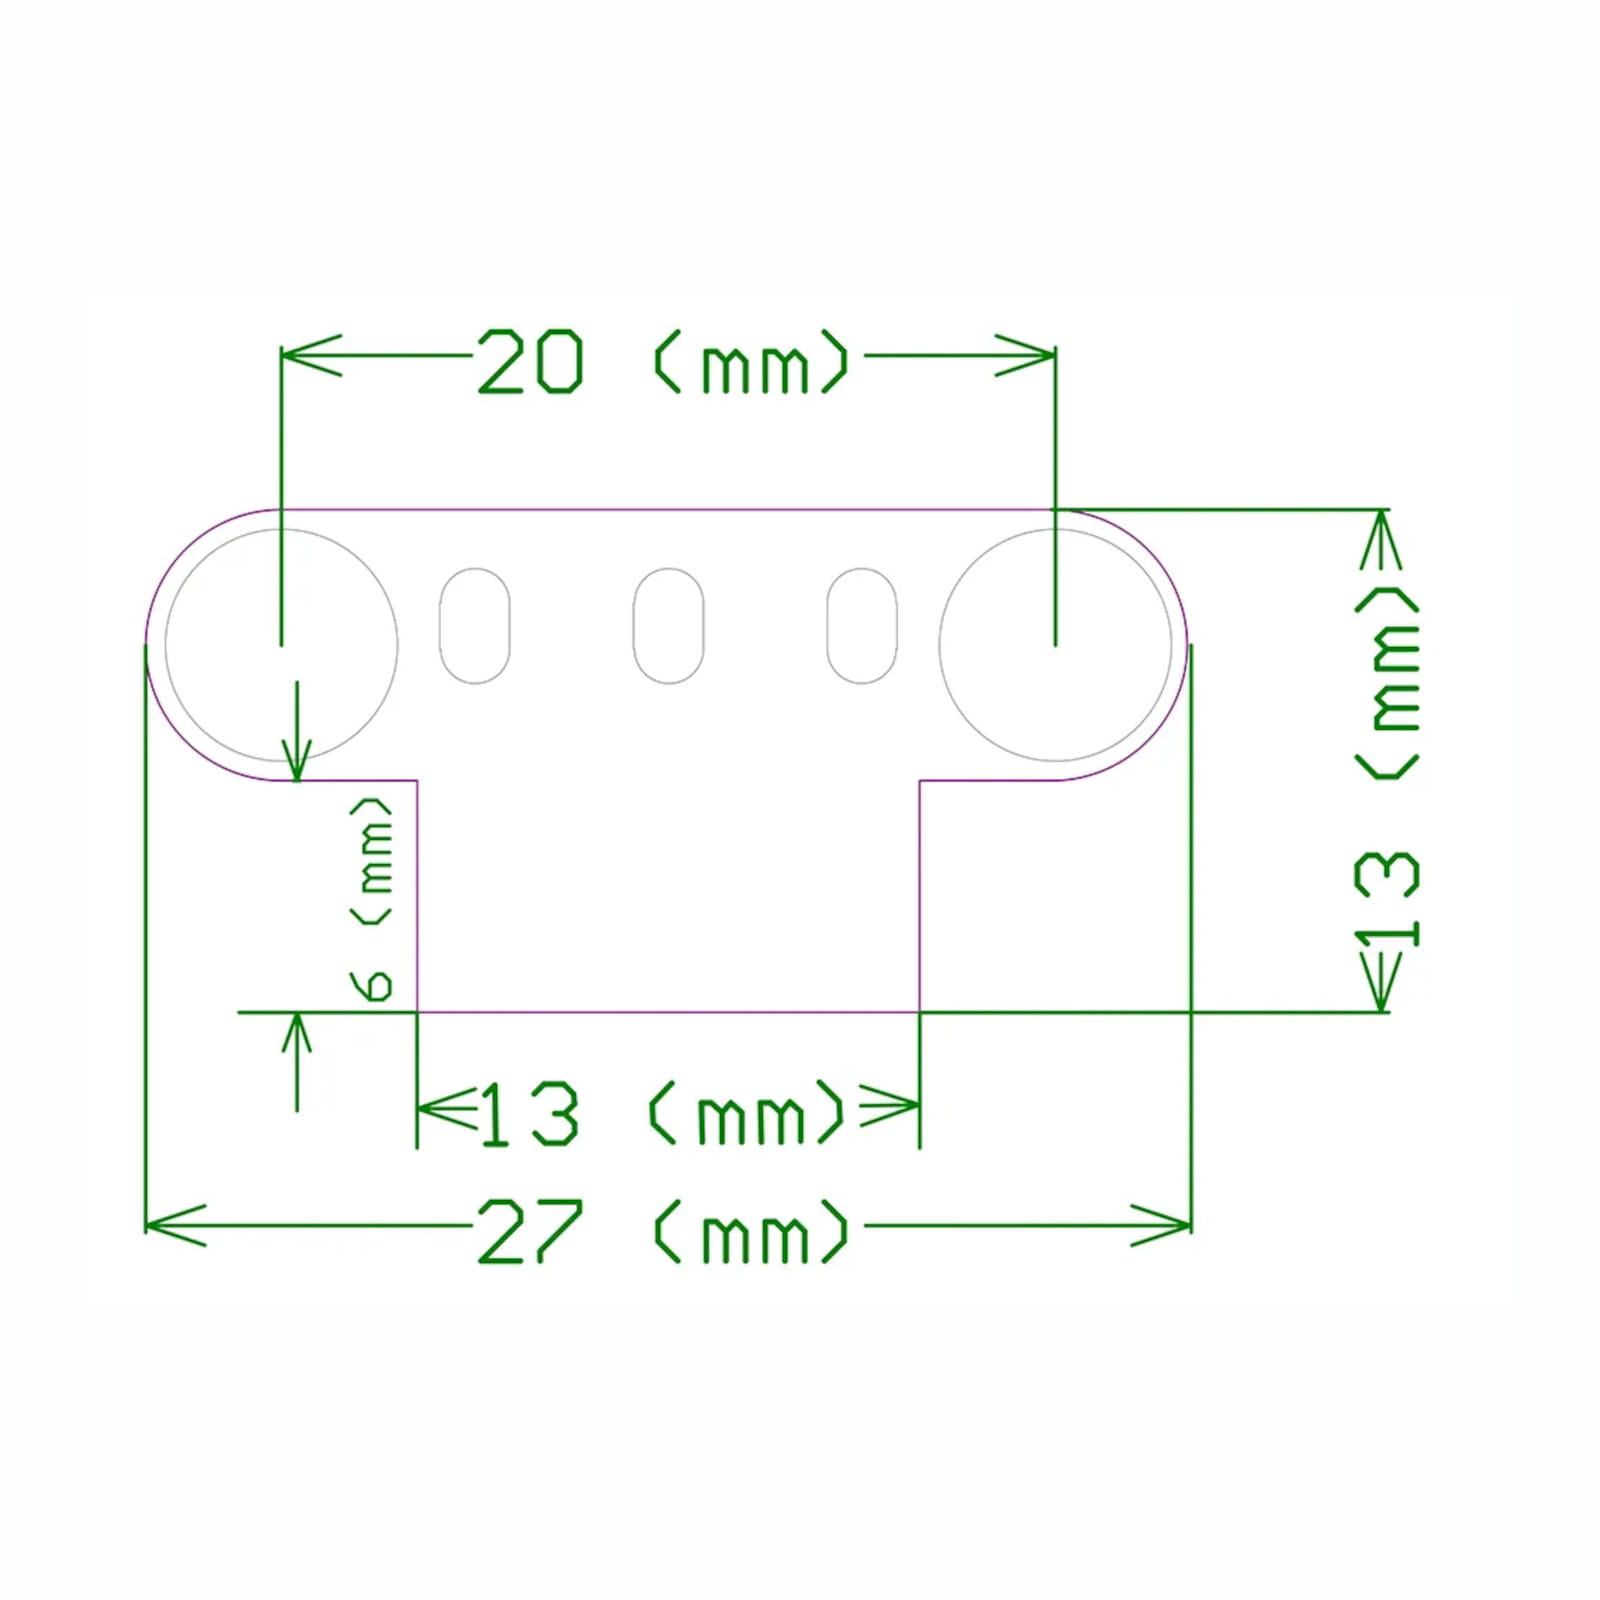

Below are the confirmed specifications for this Horizontal Limit Switch NO. Always verify switch logic, connector type, wiring, mounting orientation, and controller compatibility before installation.
| Product Name | Horizontal Limit Switch NO |
|---|---|
| Product Type | Mechanical limit switch / endstop module |
| SKU | DB-0049-5905 |
| Switch Operation | Normally open / NO |
| Connector Type | JST-XH connector |
| Cable Length | 1 m |
| Module Orientation | Horizontal layout |
| Indicator | Trigger light |
| Pin Adjustment Note | Pins may be carefully manipulated into a vertical position for alternate configurations, according to the current product page |
| Common Applications | Compatible 3D printer endstops, CNC limit inputs, robotics projects, motion systems, electronics projects, and position-sensing applications |
| Listed Printer Application | One listed application uses this part as X and Y endstops, with 2 pieces required |
| Quantity Sold | 1 horizontal limit switch module per quantity unless otherwise listed |
| Installation Warning | Confirm switch logic, connector pinout, voltage, firmware settings, mounting orientation, and controller compatibility before installation. Incorrect wiring or configuration may cause failed homing, incorrect endstop triggering, or electronics damage. |
| Fulfillment | Hand-inspected and precision-shipped from dnb3D in Marathon, Ontario, Canada |
Before installing this Horizontal Limit Switch NO, confirm that your controller, machine, printer, or electronics project is designed for a normally open mechanical endstop with a JST-XH connector. Check the required switch logic, connector pinout, firmware settings, and mounting orientation before connecting the switch.
Make sure the connector is installed in the correct orientation and connected to the correct endstop or limit input. Incorrect wiring, reversed connectors, or incorrect firmware logic can cause failed homing, false triggers, missed endstop detection, or electronics damage.
Mount the switch securely so the moving axis, carriage, gantry, or mechanical contact point triggers the switch cleanly without over-travel. Do not place the switch where it can be crushed, bent, impacted too aggressively, or contacted by moving parts beyond its intended travel.
The current product page notes that the pins can be manipulated into a vertical position for multiple configurations. If adjusting the pins, bend carefully and avoid repeated movement, as excessive force may damage the solder joints, connector, PCB, or switch housing.
After wiring, test the trigger light and verify that your controller detects the switch correctly before running homing or machine movement. Confirm the endstop state in firmware or controller software before allowing any axis to move at full speed.
Keep the module clean and dry before installation. Avoid pulling on the cable, crushing the switch lever, contaminating the contacts, or storing the switch loose with heavy hardware that may damage the connector or PCB.
If your machine develops inconsistent homing, false endstop triggers, missed triggers, or intermittent motion errors, inspect the switch, connector, cable, mounting screws, trigger position, and firmware logic. Replace damaged or unreliable switches as needed.
Each order is checked before fulfillment and precision-shipped from dnb3D in Marathon, Ontario, Canada.
At dnb3D, we don’t just ship boxes—we manufacture solutions. Operating our Industry 4.0 micro-factory in Marathon, Ontario, means your order is handled by the same people who design and test these components.
Ready to Ship (3D Printer Parts & Hardware): Finished, inspected, and on the shelf. Dispatched within 1 to 2 business days.
In-House Manufacturing (Laser, Plasma, 3D Prints): These items are manufactured “fresh” to order. Please allow 3 to 5 business days for precision cutting and finishing.
Custom Projects: Bespoke designs require a consultation and a locked-in timeline before production begins.
We ship nationwide across Canada and the USA. Centrally located on the North Shore of Lake Superior, we are uniquely positioned to get your products moving quickly to either coast.
We stand behind every weld, cut, and print. If a product doesn’t meet your expectations, contact the Hub within 30 days. If we wouldn’t put it in our own shop, we won’t let it sit in yours.
Standard Items: Contact us within 30 days for return authorization. Items must be in original, unused condition.
Custom/Personalized Orders: Digitally fabricated to your exact specs (names, custom dimensions, or unique finishes) are final sale once production begins.
Shipping Costs: Return shipping is the responsibility of the customer unless the item arrived damaged or defective.
Have questions about a specific build? Click here to contact the shop.